For the old hardware, I would much rather find new ways to use it, rather than just throwing it away. The Alpine Linux is a non-comercial distribution known for its small resource requirements, simplicity and security.
The version I have used for my install is 3.11.3. However, the purpose of this article is to provide a rather general overview of what you need to do. So the intention is to use the latest versions for everything, even if this might lead to some different here and there, as compared to the following content.
You can find more information on the project's webpage: https://www.alpinelinux.org/about/
What should you do first?
- Learn how to get into the BIOS of your machine and make sure you can boot from a USB stick. If this is not possible, then you must find an alternative to creating the installation media;
- Check if your machine supports x64 architecture, so that you know which version of the install kit to download;
- Obviously, you should have another device present, for researching situations not described in this tutorial or create new installation media etc.
Create a bootable image of Alpine Linux
Which version of alpine linux should you download for your bare metal install? For a rather normal install you should probably download the standard x64 version.
https://alpinelinux.org/downloads/

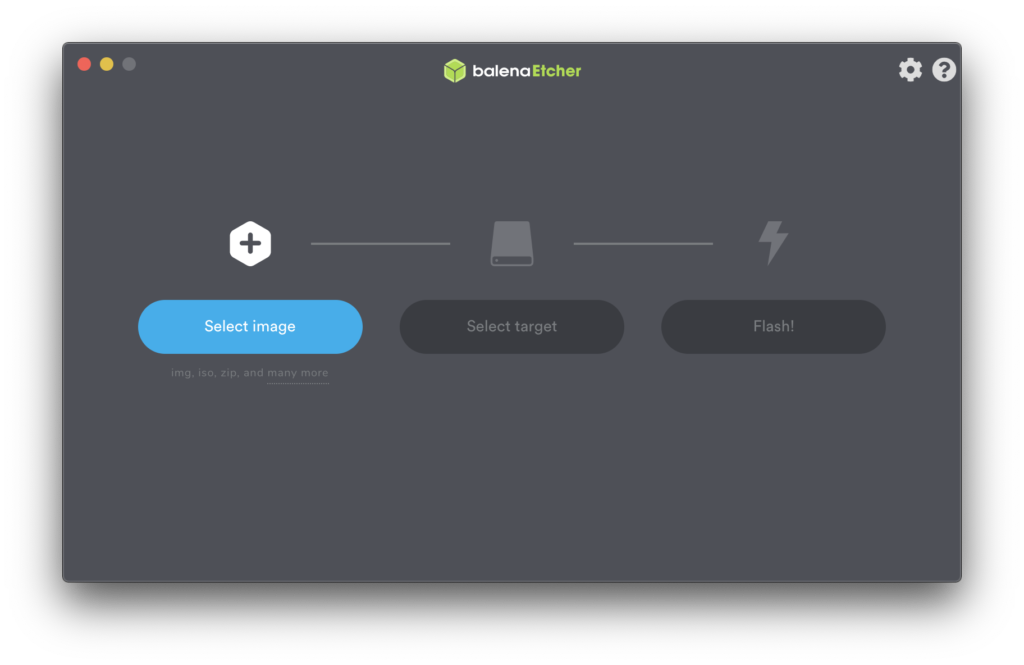
We will use balenaEtcher (https://www.balena.io/etcher/) to create the bootable USB stick. It has a quite intuitive interface, very accesible to everybody. The main thing to take into account is that it will delete all the data on your USB stick, so be sure this will not affect you.
Boot from the USB stick and install
A basic requirement is to be able to boot from a USB device. Depending on your machine, you might need to make some changes in your BIOS.
A couple of great tutorials installing Alpine with xfce as a virtual machine can be found at:
The operating system
I had multiple attempts to install the operating system, mainly because trouble setting up the network connection. However, with a little bit of patience and luck, you should be fine.
As the operating system loads from the USB stick, follow this:
- use
rootas username to login; setup-alpineand follow the default options as much as possible;- remove the USB stick;
reboot
Small introduction
- Alpine apk does not have anything to do with the Android world apk files;
rc-service <name> startwill immediately start your package;rc-update add <name>will add your package to the default runlevel;rc-update del <name>will prevent the package to start.
Sources:
- https://wiki.alpinelinux.org/wiki/SLiM
- https://wiki.alpinelinux.org/wiki/Alpine_Linux_package_management
XFCE as grapical interface
apk updateapk add nano
nano is a very comfortable editor in the linux world. As opposed toviwhich is already installed, nano has a rather more beginner friendly interface.nano /etc/apk/repositories
and ensure that/communityis not commented.setup-xorg-baseapk add alpine-desktopapk add xfce4reboot
Other useful packages:
apk add gitapk add curl
At this point, you have two options. The first one is to manually start the desktop environment by using exec startxfce4 every time you want the desktop environment. The second is to continue with this sequence of commands, to have it start automatically.
apk add thunar-volman udisks2
This is an extension for the Thunar file manager, which enables automatic management of removable drives;apk add faenza-icon-theme
As the name states, this is a nice icon theme;apk add slim
slim is a lightweight and simple to configure login manager;rc-service dbus startrc-update add dbusrc-service udev startrc-update add udevrc-update add slimreboot
Sources:
- https://wiki.alpinelinux.org/wiki/XFCE_Setup
- https://askubuntu.com/questions/614543/how-to-get-xfce4-desktop-at-startup-without-the-bloat
Further customisation and commands
Set a network name
For accesting the host easier inside the network, you can give the computer a name. I think I went around with the solution a bit, but I have named my computer shorty with the following process:
echo "shorty" > /etc/hostnamehostname -F /etc/hostnamesetup-interfaces
This will start helper which will guide you though configuring the networkreboot
Source:
- https://wiki.alpinelinux.org/wiki/Configure_Networking
- https://wiki.alpinelinux.org/wiki/Alpine_setup_scripts
Change the password for a user
echo "root:password" | chpasswd
This command will change the password for user root to password.
Connect with root via ssh
First and most important: this is not a safe practice, you should not use the root user directly. However, I use my computer for testing inside my home network. And it is more comfortable to do more settings via the command line, from my workstation.
So, use the following commands:
nano /etc/ssh/sshd_config- Ensure the following is present:
PermitRootLogin yes
Source: https://superuser.com/questions/539139/putty-password-access-denied
Zsh and starship
Zsh is one of the first things I install, wherever possible. This alpine installation will be no exception. However, on this install I had a little trouble using .antigen and while trying to fix it, I have stumbled upon starship. This apparently packs some interesting functionality, I had to try it:
apk add zshcurl -fsSL https://starship.rs/install.sh | bash
Add antigen:
mkdir ~/.antigen/ && cd ~/.antigencurl -L git.io/antigen > antigen.zshnano ~/.zshrcand add your configuration.
An example configuration is:
eval "$(starship init zsh)"

source ~/.antigen/antigen.zsh

antigen use oh-my-zsh
antigen bundle git
antigen bundle heroku
antigen bundle pip
antigen bundle lein
antigen bundle command-not-found

antigen bundle zsh-users/zsh-syntax-highlighting
antigen bundle zsh-users/zsh-autosuggestions

# antigen theme bira

antigen apply
To update the default shell for a user, you can do the following:
sudo nano /etc/passwd- replace
/bin/bashwith/bin/zshfor whichever user you want to use this shell as default.
Sources:
Create a new sudo user
It is well known that using root for a linux system is discouraged. Use the following steps to create a new user - newuser - and assign elevated privileges to it:
adduser newuseraddgroup sudoaddgroup newuser sudonano /etc/sudoersand add:%sudo ALL=(ALL) ALL
You can use: su newuser to switch to the new user and sudo ls -la as a test command. If something went wrong, you will see a message similar to: newuser is not in the sudoers file. This incident will be reported.
Otherwise, the list of expected files and folders will be displayed.
Sources: