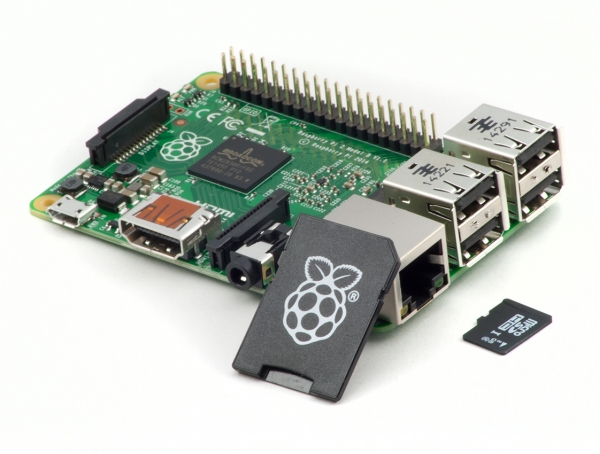
These are the steps I followed for setting up my Raspberry Pi 2 model B.
- Download the operating system
https://www.raspberrypi.org/downloads/raspbian/
https://www.raspberrypi.org/documentation/installation/installing-images/windows.md
I didn't use noobs. - The default login credentials are:
Username: pi
Password: raspberry - You can find configuration information at:
https://www.raspberrypi.org/documentation/remote-access/ssh/
The config command is:
sudo raspi-config - Setup the new passwords
- Configure the router of your network to assign the same IP address to the Pi, using its MAC address
- Check the disk space
df -g - Install the VPN
https://www.domoticz.com/wiki/Installing_a_PPTP-VPN_server_on_a_Raspberry_Pi
http://www.howtogeek.com/51237/setting-up-a-vpn-pptp-server-on-debian/ - Install webmin
http://www.webmin.com/deb.html - Add a new theme for webmin
https://github.com/qooob/authentic-theme - Create a shared folder
http://raspberrypihq.com/how-to-share-a-folder-with-a-windows-computer-from-a-raspberry-pi/ - Change the SSH port:
http://www.raspians.com/Knowledgebase/how-to-change-ssh-port/
This is the basic configuration for a Raspberry PI which will handle VPN connections and serve a shared folder for documents on its local drive.
Later edit: New versions of raspbian require creating a file named 'ssh' with no extension, in order to have ssh access enabled.